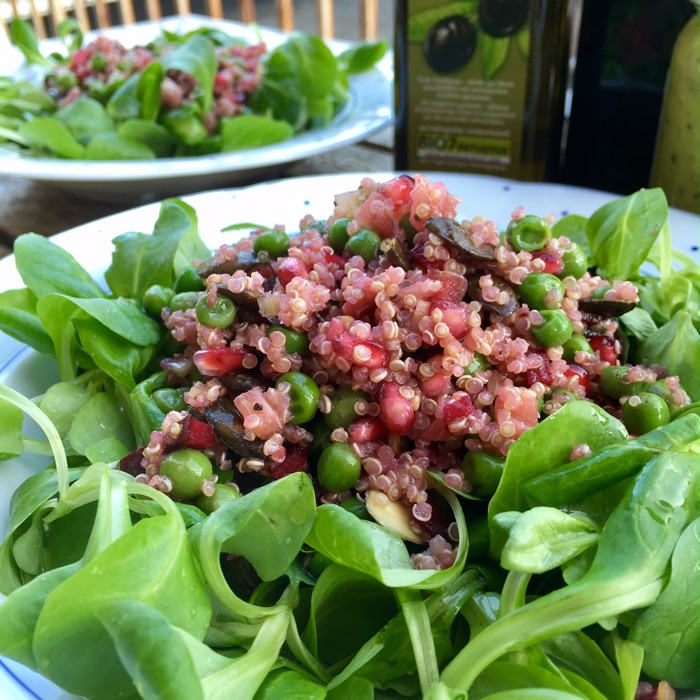
A deliciously fresh, tangy quinoa salad, light and filling.
We’re used to eating rhubarb sweetened, boiled even to soften it up. But this celery like pink stalk can also be eaten raw and then it has a nice bite and nicely sour, tangy taste, perfect to complement more earthy flavors!
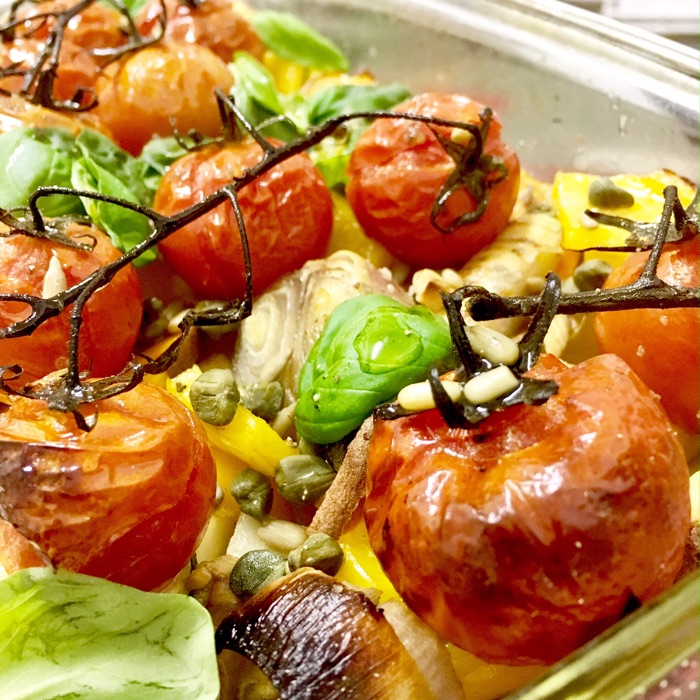
A beautiful Summer dish (which is when you’ll find rhubarb on the markets), perfect for vegans because it contains proteins and healthy fats from different sources: green peas, pumpkin seeds and quinoa.
The lemon zest goes together so nicely with the peas and olive oil, wow! You’ll want to remember that combo.
While you’re preparing green peas, make some extra and watch out for my green peas ‘hummus’ recipe, coming soon ;).
- Rinse and prepare 1 cup of quinoa following the instructions on the packaging.
- Steam half a cup of green peas until nicely creamy with a gentle bite.
- Toast a handful pumpkin seeds in a pan until fragrant.
- In a bowl, mix two teaspoons of lemon zest with a good gulp of extra virgin olive oil and a spoonful of nut oil, such as walnut or pumpkin seed oil and a teaspoon of honey.
- Finely cut beetroot, fennel and rhubarb totalling one half to 1 cup.
- Mix everything together. Let sit for some minutes to let the flavours combine. Add salt, lemon juice and pepper to taste.
- Serve on a bed of velvety green leafs lettuce and sprinkle with more olive oil.
Enjoy <3
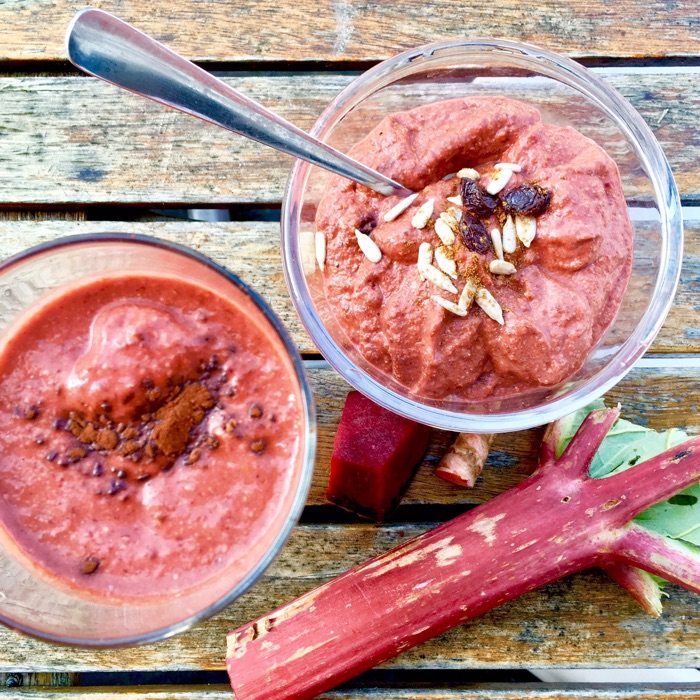
PS: If you like rhubarb, try my rhubarb smoothie or breakfast bowl recipe!